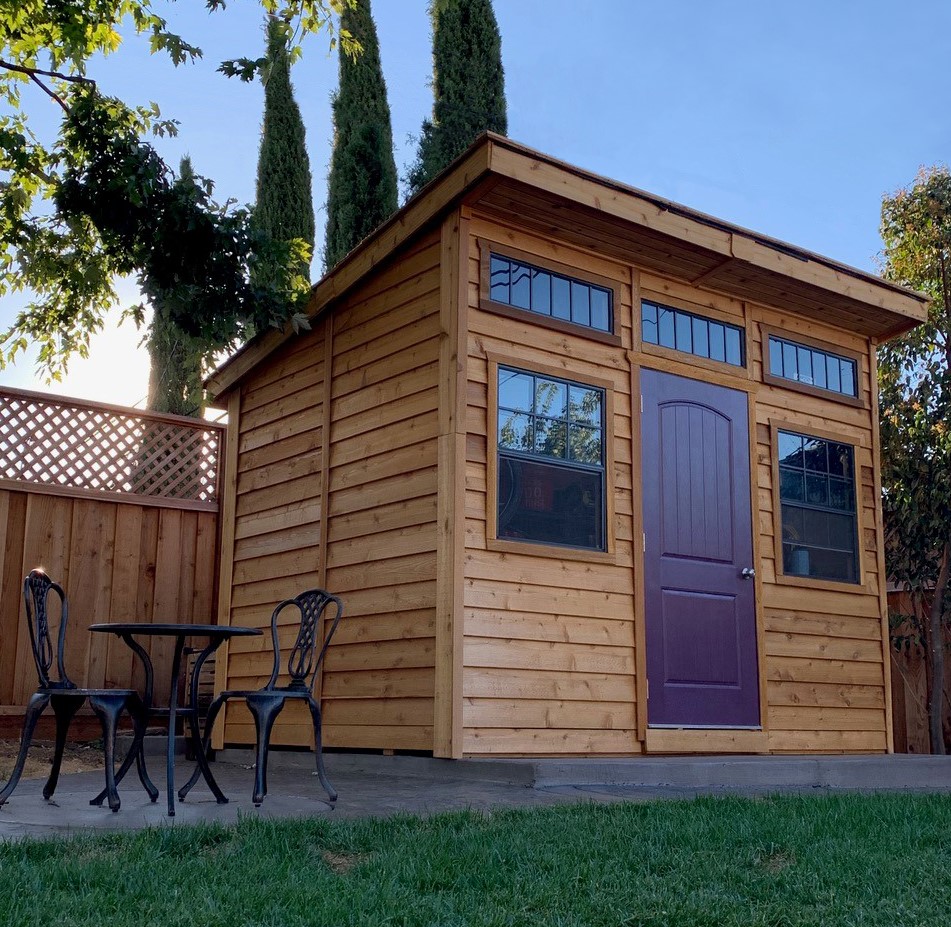
135+ Lean-To Shed

 buildblueprint.com ```html
 Introduction: Building Your Own Lean-To Shed Building a lean-to shed is a fantastic way to add extra storage space to your property without breaking the bank. This step-by-step guide will walk you through the process, from planning to completion, ensuring you create a functional and durable structure. Let's get started!
Step 1: Planning and Preparation Before you even think about picking up a hammer, careful planning is essential. This stage will save you time, money, and potential headaches down the line. Determine Shed Size: Decide how much storage space you need. Consider the items you plan to store and the available space on your property. Obtain Necessary Permits: Check with your local building department to see if any permits are required for a shed of your planned size. Choose a Location: Select a level area adjacent to an existing structure (your house, garage, etc.) for easy access and support. Ensure the location has proper drainage to prevent water damage. Create a Detailed Plan: Draw a detailed plan of your shed, including dimensions, materials list, and specific construction details. This blueprint will be your guide throughout the project.
Step 2: Gathering Materials and Tools Having all your materials and tools organized before you start building is crucial for efficiency. Lumber: Purchase pressure-treated lumber for the base frame and exterior siding, as well as standard lumber for the walls and roof. Common lumber sizes include 2x4s, 2x6s, and 4x4s. Fasteners: Stock up on galvanized nails, screws, and bolts for securing the frame and siding. Roofing Materials: Choose roofing materials that match your existing structure or complement your design. Options include asphalt shingles, metal roofing, or rolled roofing. Siding Materials: Select siding materials that are weather-resistant and aesthetically pleasing. Options include wood siding, vinyl siding, or metal siding. Tools: Gather essential tools, including a circular saw, drill, level, measuring tape, hammer, safety glasses, work gloves, and a square. A post hole digger will also be needed if setting posts in concrete.
Step 3: Building the Foundation The foundation is the backbone of your shed. A solid, level foundation is essential for the stability and longevity of your structure. Prepare the Ground: Clear the chosen area of grass, debris, and topsoil. Level the ground using a shovel and a level. Build the Base Frame: Construct a rectangular frame using pressure-treated lumber. Ensure the frame is square and level. Set the Posts (Optional): For a more permanent structure, you can set the corner posts of the frame in concrete. Dig post holes, place the posts, and fill the holes with concrete. Allow the concrete to cure completely before proceeding. Alternately, use concrete blocks to support the frame on the ground, ensuring they are level. Attach the Frame to the Existing Structure: Secure the back of the frame to the adjacent structure using lag bolts. This provides support and stability.
Step 4: Framing the Walls With the foundation in place, it's time to frame the walls of your lean-to shed. Cut the Wall Studs: Cut the wall studs to the desired height. Remember that the lean-to design will require one wall to be taller than the other to create the slope. Assemble the Walls: Assemble the wall frames using the wall studs and top and bottom plates. Use nails or screws to secure the studs to the plates. Ensure the walls are square. Attach the Walls to the Frame: Raise the walls one at a time and attach them to the base frame using nails or screws. Ensure the walls are plumb and square before securing them permanently. Frame the Door Opening: Frame the door opening with extra studs and a header to provide support.
Step 5: Installing the Siding Once the walls are framed, it's time to install the siding to protect the structure from the elements. Attach the Siding: Begin attaching the siding to the wall frame, starting at the bottom and working your way up. Overlap the siding panels according to the manufacturer's instructions. Cut Around Openings: Carefully cut the siding around the door opening and any other openings in the walls. Secure the Siding: Secure the siding to the wall frame using nails or screws.
Step 6: Constructing the Roof Building the roof is a critical step in creating a weatherproof shed. Install the Rafters: Cut the rafters to the appropriate length and angle for the lean-to slope. Attach the rafters to the top plates of the walls. Ensure the rafters are evenly spaced. Sheathe the Roof: Cover the rafters with plywood or OSB sheathing. Secure the sheathing to the rafters using nails or screws. Install Roofing Underlayment: Apply a layer of roofing underlayment to the sheathing to provide an extra layer of protection against moisture. Install the Roofing Material: Install the roofing material of your choice, following the manufacturer's instructions. Overlap the roofing panels or shingles properly to prevent leaks.
Step 7: Installing the Door With the roof complete, you can install the door to secure your shed. Build or Purchase a Door: You can either build a door from scratch or purchase a pre-made door. Install the Door Frame: Install the door frame in the door opening, ensuring it is plumb and square. Hang the Door: Hang the door in the frame using hinges. Ensure the door swings smoothly and closes properly. Install Hardware: Install the door handle, latch, and any other desired hardware.
Step 8: Finishing Touches With the main structure complete, it's time to add the finishing touches to enhance the appearance and functionality of your shed. Paint or Stain the Shed: Apply paint or stain to the siding and trim to protect the wood and enhance the appearance of the shed. Install Trim: Install trim around the door and windows to create a finished look. Add Shelving and Storage: Add shelving, hooks, or other storage solutions to maximize the use of space inside the shed. Seal Any Gaps: Seal any gaps or cracks around the door, windows, and siding to prevent water intrusion and drafts.
Conclusion: Enjoy Your New Lean-To Shed! Congratulations! You've successfully built your own lean-to shed. This new storage space will provide you with a convenient and secure place to store your tools, equipment, and other belongings. Remember to regularly inspect and maintain your shed to ensure it lasts for many years to come.
``` Lean-to Shed Plans
buildblueprint.com Lean To Shed Pricing
 www.wrightsheds.com
 Cedarshed Industries Bayside 12ft. W X 4ft. D Western Red Cedar Wood Lean-to Storage Shed
 www.wayfair.com

0 Comments